Apparent brightness means the amount of energy in that a detector receives on the earth from a distant star.
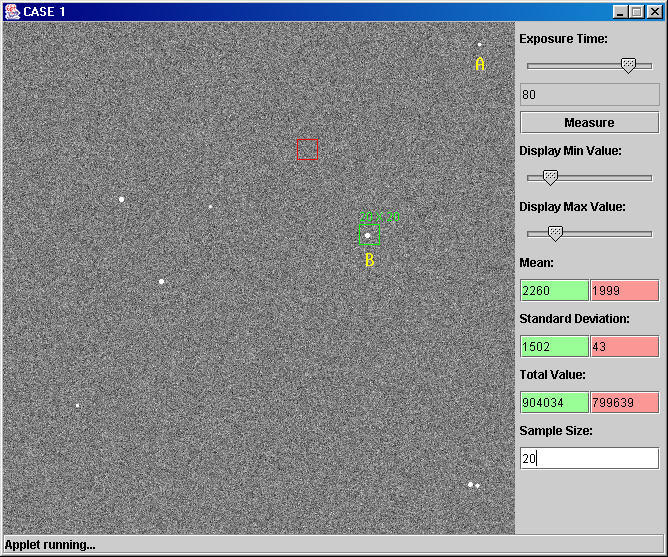
To do this we will use the CCD simulator JAVA applet. A snapshot
of this is shown below
The features of this applet are:
 to
make an intial box, place the cursor on the gray background
and use the left mouse button to draw a square. Then change
the size of the square to 20x20.
to
make an intial box, place the cursor on the gray background
and use the left mouse button to draw a square. Then change
the size of the square to 20x20.
The mean counts in the green box are 2260, those counts include the background counts since the star sits on the background level of the detector which is determined by the brightness of the night sky at the time of the observation.
The mean background count is 1999.
So the actual brightness of the star is then 2260 - 1999 = 261 counts. You have to subtract the background to get the true brightness of the star on the detector
Use an exposure time of 20 seconds for each case, except case 1 where you use an exposure time of 80 seconds
In all five cases, the detector is "imaging" the same
field of stars so in each case there are 8 stars on the
detector. But not all detectors will detect 8 stars or even
Star A. All detectors will record star B.
You should think about what aspects of the various virtual
observations are precluding detection of the fainter stars as you can also learn, increasing the exposure time still
won't cause star A to be detected in most cases.
We will go through the detectors one by one and focus our attention on measuring star 6 for each detector case.
Each one of the 5 cases below represents a different combination of observing conditions. The goal here is to see what kind of observing conditions adversely effect our ability to detect faint stars. Note that the first case, which is the best and simulates data taken with the Hubble Space Telescope, shows 8 distinct stars. None of the other cases will show all 8 stars and you should try to think about what combination of detector + observing conditions which is simulated precludes the detection of the fainter stars.
Observations with the Hubble have two primary advantages over those from the ground:
Case 1 (80 seconds exposure)
Case 2 (20 seconds exposure)
Case 3 (20 seconds exposure)
Case 4 (20 seconds exposure)
Case 5 (20 seconds exposure)
Its apparent brightness. This is basically the
amount of energy that the star deposits on a detector, whether its your
eyeball or some pixel in a CCD detector. The reason you shouldn't look
directly at the sun is not because the sun is "too bright" but rather the
amount of energy received by your eye is very harmful to it.
Its apparent color. Even with your naked eye you
can see that some stars are blue while others are red. Some of this
color diversity is seen in the image below:
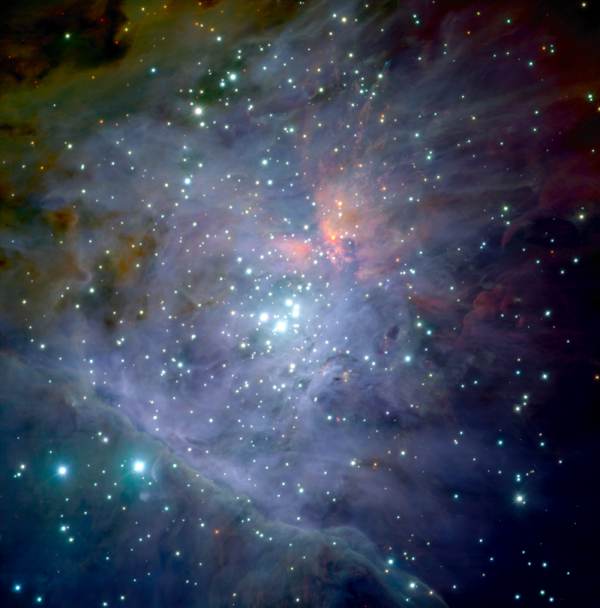
We will later learn that blue stars are hot (and usually young), with
relatively short lifetimes and red stars are cool (usually old) and
have long lifetimes. For now, however, all we care about is that stars
do come in different colors.
The apparent brightness of a star imaged with some detector (i.e. the amount of energy which it registers on the detector) is due to 3 things:
While the first two items are the most important, it nevertheless is important to remember that different detectors can yield different information.